

Creating a Form
Setting Form Parameters
To access form creation, select Club → Recruitment & Surveys → Create from the left menu. The tab is available to users with the role of administrator, coordinator, or president, as well as users with appropriate individual permissions.
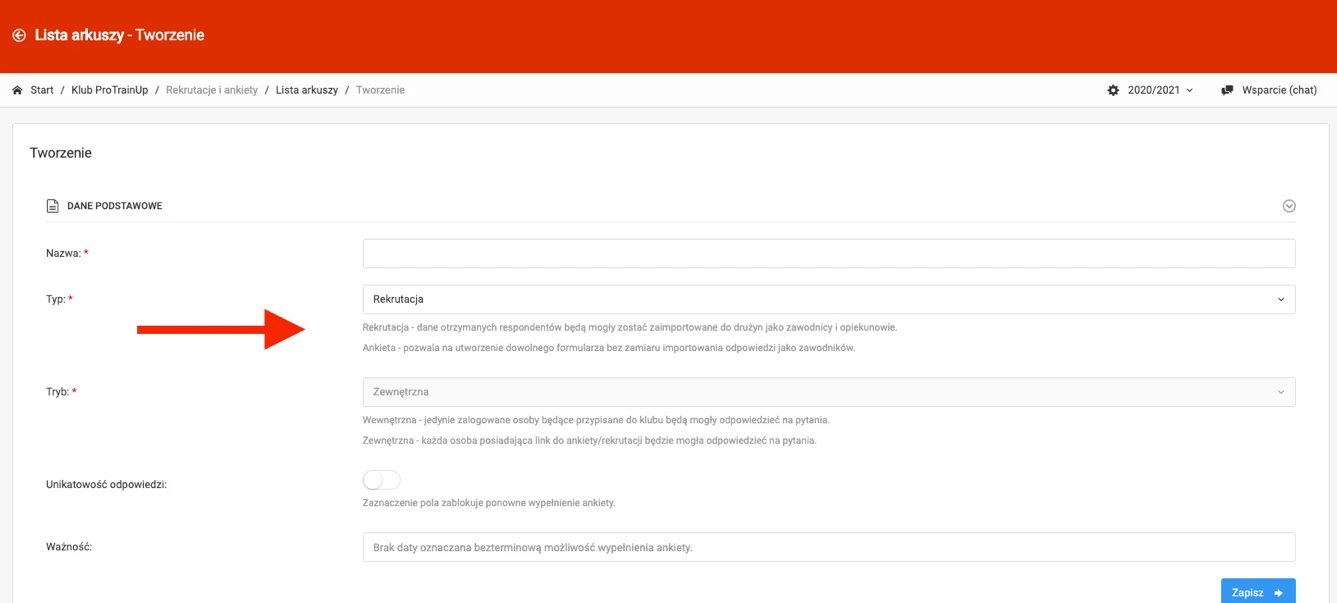
In the first step, enter the form name, then set its type:
- Recruitment form — set to external mode by default, available as a web page with a public link without the need to log in to the system,
- Survey — available in two modes:
- External — public access without login,
- Internal — access only for logged-in system users.
You can also configure:
- Response uniqueness — only one response can be submitted per IP address,
- Expiry date — after this date, the ability to submit responses will be blocked.
Once all fields are filled in, click the "Save" button.
Building the Form
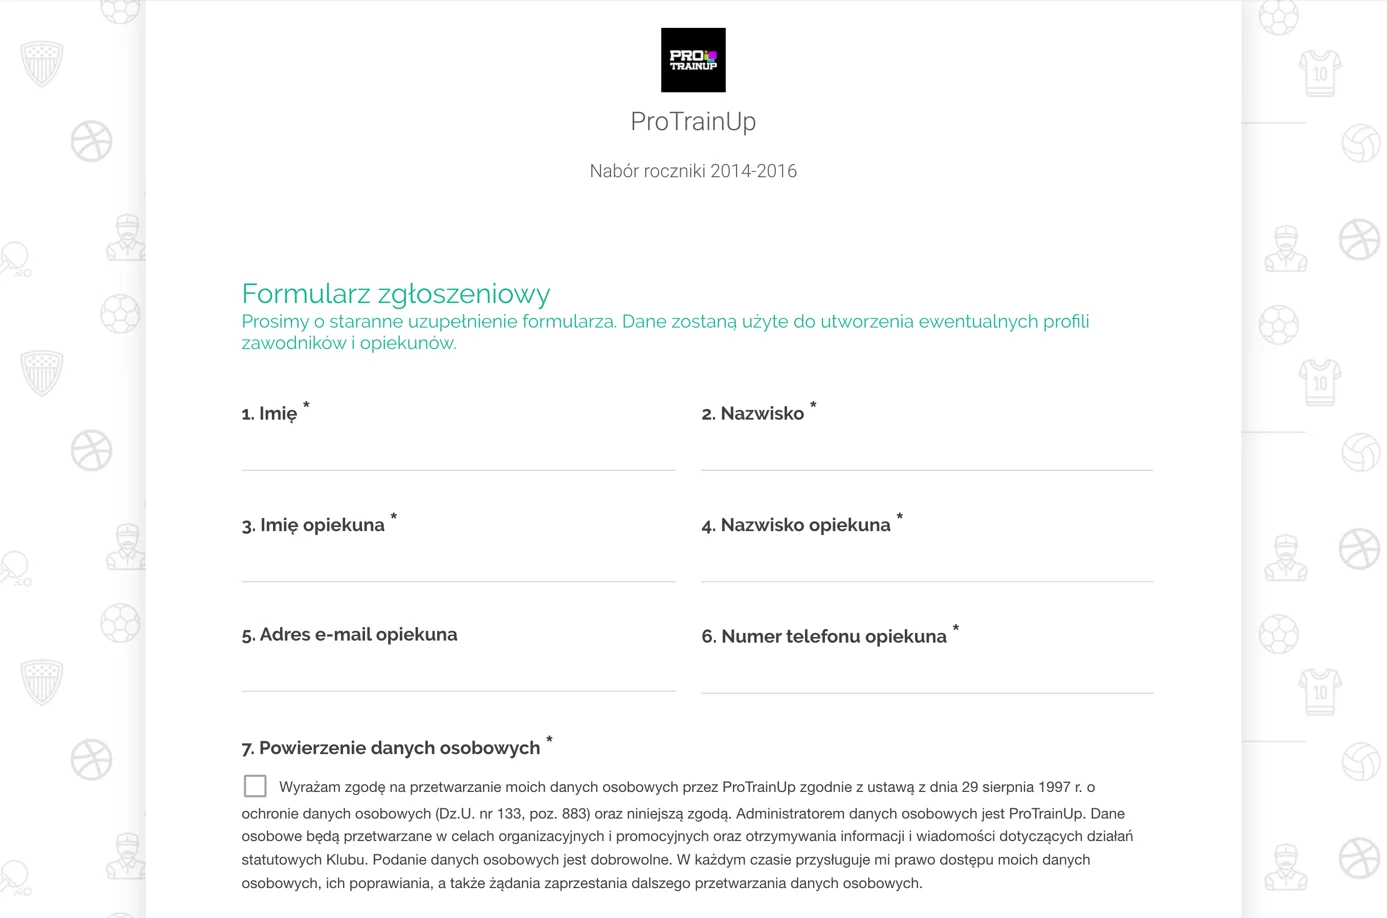
After setting the parameters, you will be taken to the form builder. Selecting a recruitment form will load a ready-made template that you can freely edit.
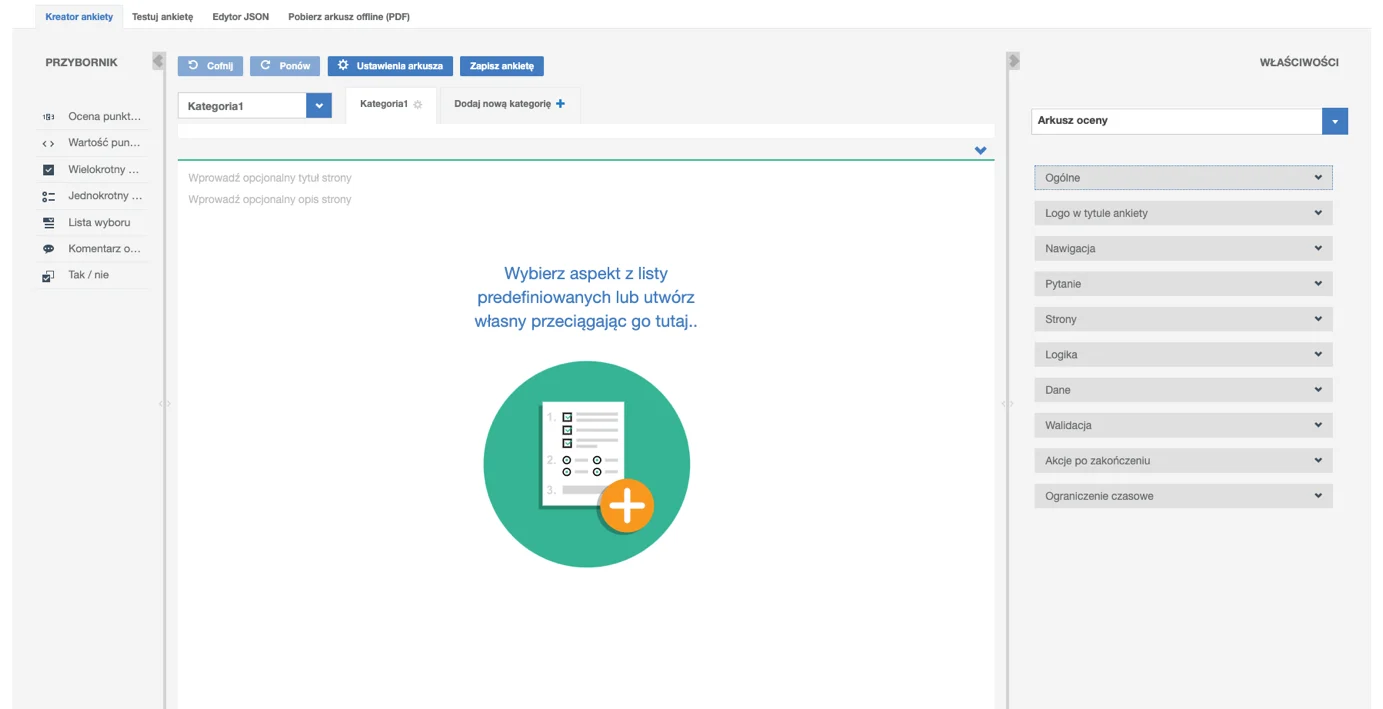
The builder consists of several main elements:
Top Menu
Contains options including:
- Download form as a PDF file,
- Preview the current version of the form for testing,
- Page tabs — add further steps to the form by clicking "Add new page".
Toolbox (left side)
Contains fields to add to the form:
- Custom fields — freely configurable,
- Predefined fields — user data, profile data, guardian data, player data.
To add a field to the form, drag it from the toolbox to the desired position.
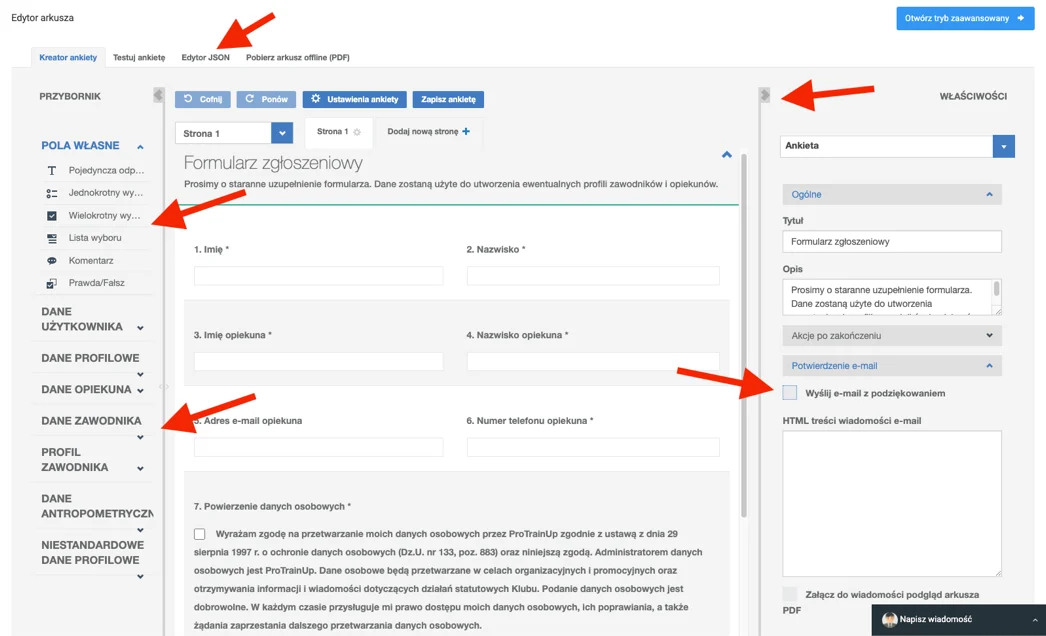
Properties (right side)
In the settings on the right side you can configure:
- Step logic for filling in the form,
- Maximum time to complete the form,
- Club logo in the PDF report,
- Form validation,
- Thank-you email to the respondent,
- Message after submission,
- PDF answer sheet sent to the respondent's email address.
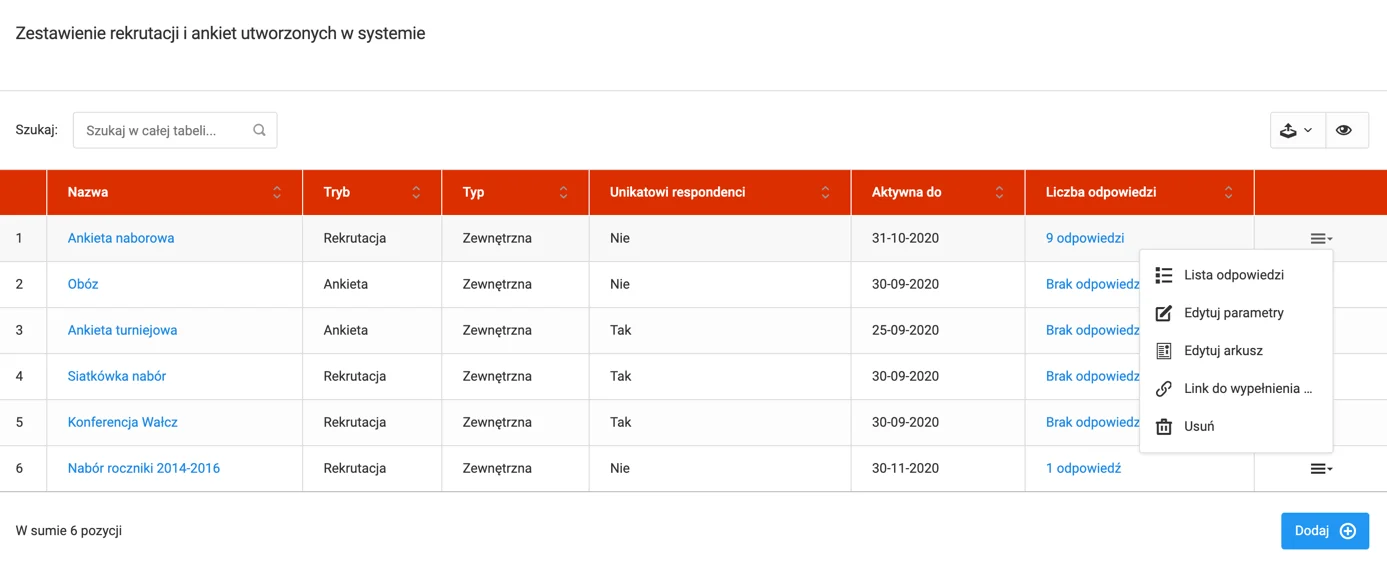
Form List
The form list contains all forms you have created. The table includes information about:
- Form name,
- Mode and type,
- Validity period,
- Number of responses.
The last column contains the following options: response list, edit form, edit parameters, form link, and delete form.
Payment history
Payment history provides quick access to all transactions made from your account. Thanks to the archive, you can verify payment details and check their status at any time.
Data Collection
Integrate forms with a website and QR codes, and automatically send confirmation emails to respondents.